
Fixation and tissue processing are where many histology errors begin. They also show up again and again on the HT (ASCP) exam because they test whether you understand what happens to tissue before it ever reaches the microtome. If fixation is poor, morphology is distorted. If processing is rushed or poorly matched to the specimen, section quality suffers. On the exam, the hardest questions are rarely simple recall. They usually ask you to connect a tissue artifact, a reagent problem, or a protocol error to the underlying cause. That is what you need to master. This guide focuses on the toughest fixation and processing concepts, the kinds of questions that make test-takers hesitate, and the reasoning you need to answer them with confidence.
Why fixation matters so much on the HT exam
Fixation is tested heavily because it protects the tissue in the most basic sense. Once tissue is removed from the body, cells begin to break down. Enzymes digest structures. Bacteria can contribute to decay. Water shifts can distort cells. Fixatives stop or slow these changes, preserve tissue relationships, and prepare the specimen for later steps such as processing, embedding, sectioning, and staining.
The exam often pushes beyond the simple idea that “fixation preserves tissue.” You may be asked what exactly went wrong when tissue shows dark formalin pigment, mushy nuclear detail, uneven staining, or poor microtomy. Those are not random defects. They usually point to a fixation issue, a processing issue, or both.
A strong exam answer depends on understanding that fixatives do different jobs. Some mainly cross-link proteins. Some coagulate proteins. Some preserve fine detail well but create hazards for later staining. Some penetrate quickly but fix slowly. That difference between penetration and fixation rate is a common source of tricky questions.
Know the difference between penetration and fixation
This distinction matters because it explains why tissue can be exposed to fixative and still remain poorly fixed in the center.
Penetration is how fast the fixative moves into tissue.
Fixation is how fast the chemical actually stabilizes tissue components.
Formaldehyde is the classic example. It penetrates tissue reasonably well, but the actual fixation process is slower. So if a specimen is too thick, the outside may be exposed while the center autolyzes before full fixation occurs.
That leads to a common exam pattern:
- Question clue: Large tissue piece, center poorly preserved, edges acceptable.
- Best reasoning: Inadequate fixation due to excessive tissue thickness or insufficient fixation time.
The exam may also ask what to do to improve fixation. The practical answer is usually to trim tissue to an appropriate thickness, increase fixative volume, and allow enough time. As a rule, tissue should be thin enough for proper fixative access. Thick specimens are one of the most preventable causes of poor histology.
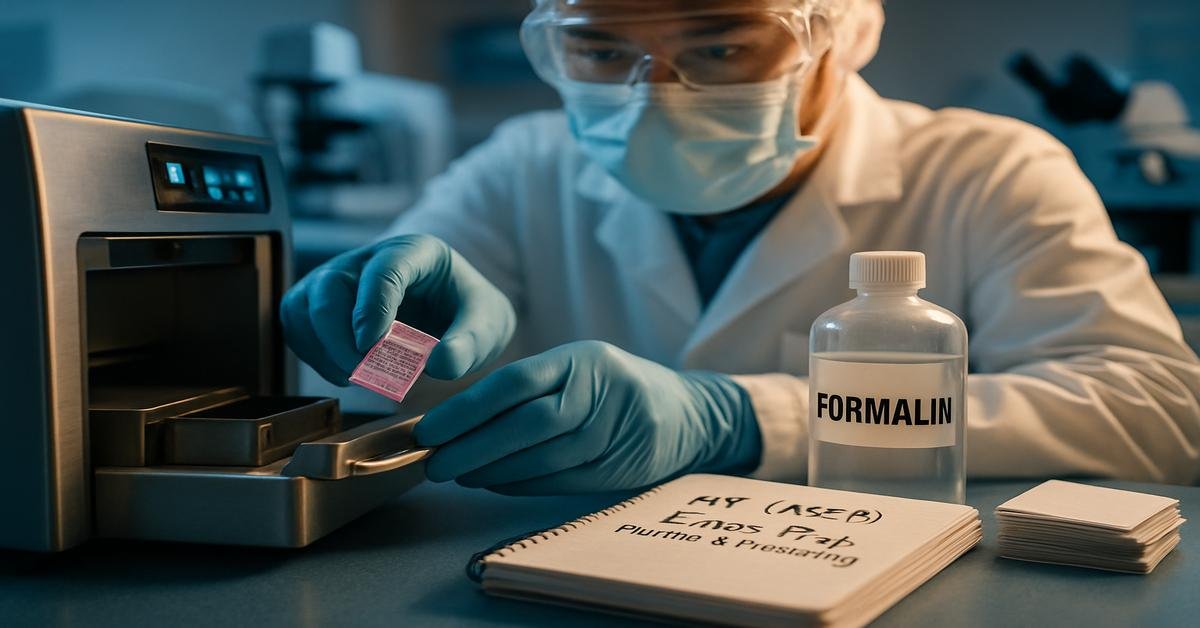
10% neutral buffered formalin: what you really need to know
For HT (ASCP), 10% neutral buffered formalin is not just a name you memorize. You need to know why it is used, what can go wrong, and what artifacts point back to it.
It is the routine fixative in most histology labs because it preserves general morphology well, works for a wide range of tissues, and is compatible with many downstream stains and methods. It is a formaldehyde-based cross-linking fixative. Cross-linking helps maintain structural relationships, which is why routine H&E sections usually perform well after proper formalin fixation.
Important points commonly tested:
- Buffering matters. If formalin is not properly buffered, acidic conditions can produce formalin pigment, also called acid formaldehyde hematin.
- Volume matters. Too little fixative compared with tissue volume leads to incomplete fixation.
- Time matters. Underfixation causes poor preservation. Overfixation can also affect some special studies, especially certain antigen-based methods.
Formalin pigment appears as a dark brown to black granular deposit, especially in blood-rich tissues. If the exam describes a pigment artifact in tissue fixed in unbuffered formalin, that is the clue. The best prevention is buffered formalin. A weak answer blames staining. A better answer identifies the fixative chemistry.
The hardest fixation questions are about artifacts
Many difficult questions describe what you see on the slide and ask what caused it. This is where students lose points if they memorize lists without learning the logic.
Here are high-yield fixation artifacts and what they usually mean:
- Autolysis: Loss of nuclear detail, smudgy cells, poor architecture. Usually due to delayed fixation or inadequate penetration.
- Formalin pigment: Dark granular pigment, often in bloody tissue. Usually due to acidic formalin.
- Shrinkage artifact: Spaces around cells or tissue structures. Can result from processing, but poor fixation or harsh dehydrants may contribute.
- Hard, brittle tissue: May suggest overdehydration, but some fixatives can also make tissue excessively hard.
- Uneven fixation: Outer tissue well-preserved, center poorly preserved. Usually tissue too thick or inadequate fixation time.
When you study these, do not stop at the name of the artifact. Always ask: What step created the chemistry behind this appearance? That is how the exam is written.
Mercurial, alcoholic, and oxidizing fixatives: what the exam wants from you
You do not need to love every older fixative to answer exam questions well, but you do need to know what makes them different from formalin.
Alcohol-based fixatives coagulate proteins. They can preserve some cellular detail quickly, but they also cause shrinkage and hardening. This matters in cytology and frozen section contexts, but on the HT exam the key point is often that coagulating fixatives behave differently from cross-linking fixatives.
Mercurial fixatives are classic exam material because they preserve nuclear detail well, but they can leave pigment deposits that need removal. If you see a question about black mercury pigment artifact after use of a mercurial fixative, the issue is not poor staining technique. It is residual pigment from the fixative.
Oxidizing fixatives, such as osmium tetroxide in electron microscopy contexts, preserve certain structures well, especially lipids and membranes. The exam may include them to test whether you understand that no single fixative is ideal for every purpose.
The larger lesson is simple: fixative choice depends on what must be preserved. Routine morphology, lipids, enzymes, ultrastructure, and antigenicity do not all have the same needs.
Tissue thickness, fixative volume, and time: easy points if you think practically
Some questions seem technical but are really about basic lab judgment. If a specimen is too thick, if there is too little fixative, or if fixation time is too short, tissue quality will suffer.
Practical rules the exam often expects you to know:
- Tissue should be trimmed thin enough for proper fixative penetration.
- There should be plenty of fixative relative to tissue volume.
- Fixation time must match tissue size and type.
- Dense tissue generally needs more time than delicate tissue.
Why does this matter? Because many histology failures are not due to obscure chemistry. They come from simple preanalytic mistakes. The exam reflects real lab practice. A test question about poor central fixation in a thick specimen is really asking whether you think like a histotechnician.
Processing questions test sequence, purpose, and consequences
After fixation, tissue processing prepares the specimen for paraffin infiltration. This sequence is one of the most tested areas because every step has a clear purpose, and every shortcut has a predictable consequence.
The standard processing sequence is:
- Dehydration
- Clearing
- Paraffin infiltration
Dehydration removes water, usually with graded alcohols. This must happen because paraffin does not mix with water.
Clearing replaces alcohol with a reagent that is miscible with both alcohol and paraffin, commonly xylene or a substitute.
Infiltration replaces the clearing agent with molten paraffin, which supports the tissue for sectioning.
Difficult exam questions often describe what happened when one of these steps failed:
- Incomplete dehydration: Poor clearing and poor paraffin infiltration follow. Tissue may section poorly and look soft or mushy.
- Incomplete clearing: Paraffin infiltration is inadequate because alcohol was not fully replaced.
- Incomplete infiltration: Tissue may contain soft areas, holes, or sections that tear or compress.
Think of processing as chemical handoff. Each reagent must fully replace the one before it. If one exchange is incomplete, the next step also fails.
Why graded alcohols are used in dehydration
This is a classic “why” question. The answer is not just “because that is the protocol.”
Water and absolute alcohol differ greatly. If tissue goes too quickly from an aqueous state into very strong alcohol, rapid fluid movement can distort cells and create shrinkage. Graded alcohols reduce that stress by removing water in stages.
If the exam asks why tissues become excessively hard, brittle, or shrunken, overdehydration is a strong possibility. This is especially likely when small biopsy tissue spends too long in high-concentration alcohol.
A good way to remember this is to connect reagent strength with tissue response:
- Too abrupt or too long in dehydrants: shrinkage and brittleness
- Too little dehydration: poor clearing and poor infiltration
Clearing agents: what students often miss
Clearing agents are often treated as a simple bridge step, but exam writers use them to test whether you understand reagent compatibility.
A clearing agent must do two jobs:
- Mix with the dehydrant
- Mix with paraffin
Xylene is the classic example. Tissue becomes translucent during proper clearing, which is why the step has that name. But clearing is also a common source of processing artifacts.
If tissue remains in clearing agent too long, it can become hard and brittle. If clearing is incomplete, paraffin cannot fully infiltrate. Both scenarios produce poor sections, but for different reasons.
That is the kind of distinction the exam likes. Similar sectioning problems can come from opposite errors: too little processing or too much.
Paraffin infiltration problems and how they show up on the slide
Infiltration gives tissue internal support. Without it, even a well-fixed specimen can cut badly.
Common clues to poor infiltration include:
- Sections compressing or wrinkling excessively
- Soft centers in tissue blocks
- Holes or areas dropping out
- Tearing during microtomy
Why does infiltration fail? Usually because a previous step failed first. Water left behind blocks paraffin entry. Alcohol left behind blocks paraffin entry. Dense tissue may also need longer infiltration. So when the exam asks for the root cause, the best answer may be incomplete dehydration or incomplete clearing rather than “bad paraffin” alone.
Biopsy tissue versus large specimens: processing is not one-size-fits-all
The exam may compare a small biopsy with a large dense organ sample. The correct processing approach is not identical for both.
Small biopsies process faster because reagents penetrate quickly. But they are also easier to overprocess. Overdehydration and overclearing can make tiny specimens brittle and difficult to section.
Large or dense specimens need more careful grossing and often longer fixation and processing times. If they are not trimmed appropriately, the center may remain underprocessed even when the outer portion seems fine.
This is one of the most practical ideas in histology: protocol time must match tissue size and composition. The exam rewards that kind of judgment.
How to answer scenario questions on fixation and processing
When a question is long and packed with details, do not panic. Use a simple method.
- Find the visible problem. Is the issue autolysis, brittleness, poor infiltration, pigment, or uneven preservation?
- Identify the step most likely responsible. Fixation, dehydration, clearing, or infiltration?
- Ask what chemical mismatch or timing error explains it.
- Choose the most upstream cause. Earlier errors often create later failures.
Example:
A tissue block is soft in the center, difficult to section, and shows incomplete paraffin support. What is the most likely cause?
The weak answer is “bad embedding.” The better answer is inadequate processing, especially incomplete dehydration or clearing before infiltration. Why? Because paraffin cannot infiltrate properly if previous reagents were not fully replaced.
Common high-yield exam traps
These traps show up often:
- Confusing fixation with processing. Poor morphology can begin with fixation, while poor support for cutting usually points more to processing.
- Ignoring tissue thickness. Many fixation failures are really grossing failures.
- Blaming staining for pigment artifacts. Formalin and mercurial pigments come from fixation issues.
- Forgetting sequence dependency. If dehydration fails, clearing and infiltration also fail.
- Missing overprocessing. Not every bad slide comes from too little time. Too much time in dehydrant or clearing agent can be just as damaging.
These are test traps because they sound simple, but they force you to think through the full chain of events.
What to memorize and what to understand
For this topic, memorization alone is not enough. Still, some facts should be automatic:
- 10% neutral buffered formalin is the routine fixative.
- Fixation preserves tissue by preventing autolysis and decomposition.
- Processing sequence is dehydration, clearing, then infiltration.
- Water must be removed before paraffin infiltration.
- Improper buffering of formalin can cause formalin pigment.
But the harder questions require understanding:
- Why thick tissue fixes poorly in the center
- Why graded dehydration is used
- Why incomplete dehydration ruins later steps
- Why overprocessing can produce brittle tissue
- Why the best answer is often the earliest step that caused the later defect
Final exam prep advice for this topic
If you want to do well on fixation and processing questions, study them as cause-and-effect systems, not as isolated definitions. Every reagent has a job. Every artifact has a reason. Every poor section tells a story about what happened earlier.
A useful way to review is to make your own two-column list:
- Observation: dark pigment, soft center, brittle tissue, poor nuclear detail, tissue shrinkage
- Likely cause: unbuffered formalin, incomplete processing, overdehydration, delayed fixation, harsh reagent exposure
That method trains the exact skill the HT (ASCP) exam wants: seeing a result and tracing it back to the process error behind it.
Master this topic and you will gain more than exam points. You will build the judgment that separates routine technical work from real histology competence. Fixation and processing are not just background steps. They shape everything that comes after.

